How to Connect a Satellite Dish to Your TV: Step-by-Step Guide

Step 1: Gather the necessary equipment
Before you can connect a satellite dish to your TV, you’ll need to make sure you have all the necessary equipment. Here’s what you’ll need:
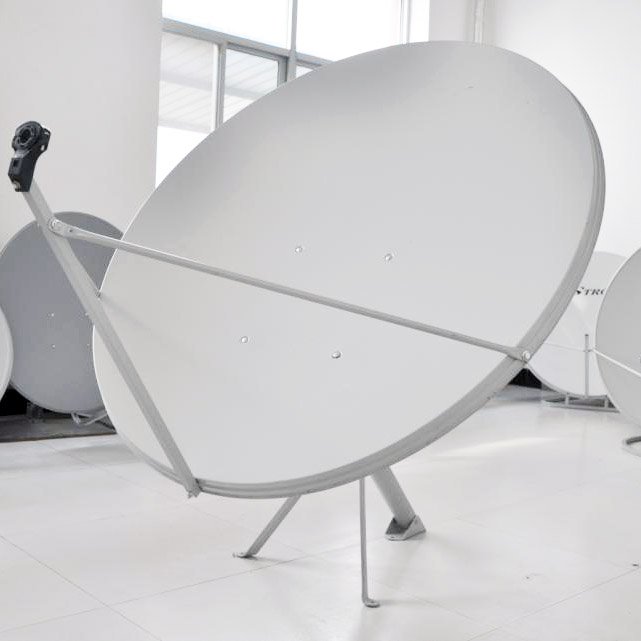
- A satellite dish
- A satellite receiver or set-top box
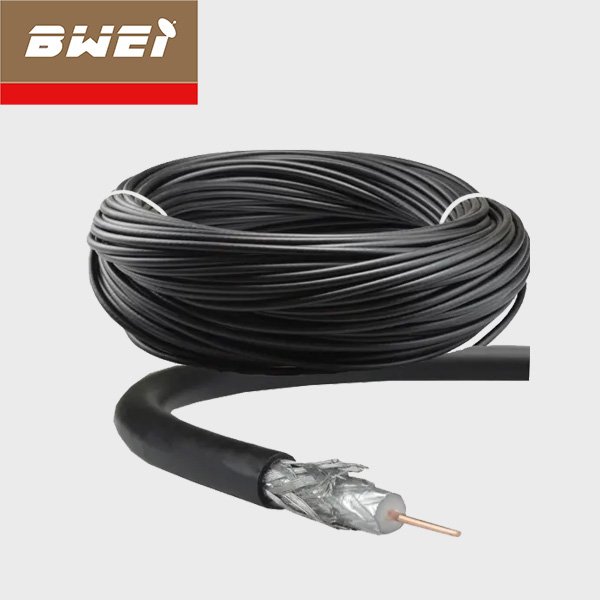
- A coaxial cable
- An HDMI cable (optional, depending on your setup)
- A TV with an available HDMI or coaxial input
- A remote control for the satellite receiver

Step 2: Find the right location for your satellite dish
The next step is to find the right location for your satellite dish. Ideally, you’ll want to place it in an area with a clear line of sight to the sky, away from any obstructions such as trees or buildings. You can mount the dish on a roof, balcony, or even a pole in your yard. Make sure to consult the installation manual for your specific dish model for detailed instructions on how to properly mount it.
Step 3: Connect the satellite dish to the receiver
Once you have the dish properly installed, it’s time to connect it to the satellite receiver. Start by connecting one end of the coaxial cable to the LNB (Low Noise Block) output on the dish. Then, connect the other end of the cable to the satellite receiver’s input port. Make sure the connections are secure.
Step 4: Connect the satellite receiver to your TV
Now that the dish is connected to the receiver, it’s time to connect the receiver to your TV. If your TV has an HDMI input, the easiest way to do this is to use an HDMI cable. Simply connect one end of the HDMI cable to the HDMI output on the receiver and the other end to the HDMI input on your TV.
If your TV doesn’t have an HDMI input, you can use a coaxial cable instead. Connect one end of the coaxial cable to the RF output on the receiver and the other end to the coaxial input on your TV. Make sure the connections are secure.
Step 5: Power on the satellite receiver and TV
Once all the connections are made, it’s time to power on the satellite receiver and your TV. Use the remote control for the satellite receiver to turn it on. Then, use your TV’s remote control to turn it on as well.
Step 6: Set up the satellite receiver
After powering on the satellite receiver, you’ll need to set it up. This typically involves following the on-screen prompts to select your language, set the time zone, and scan for available satellite channels. Consult the user manual for your specific receiver model for detailed instructions on how to complete the setup process.
Step 7: Enjoy your satellite TV
Once the setup is complete, you’re ready to enjoy your satellite TV! Use the remote control for the satellite receiver to navigate through the channels and adjust the settings to your liking. Sit back, relax, and enjoy the wide range of programming that satellite TV has to offer.
Connecting a satellite dish to your TV may seem daunting at first, but by following these steps and consulting the user manuals for your specific equipment, you’ll be able to enjoy the benefits of satellite TV in no time. Happy viewing!
If you need a good quality satellite dish, please contact us in time.
Email: sales03@chinabrave.com
